An Intro to: Battlezone '98 Redux
2016-04-25Bobcat Betty’s Guide to The Bobcat (Light Tanks)
by: DeusExCeteriBattlezone 98 Redux - Beginner’s Strategy Guide
by: HyperFighter, DeusExCeteriWorkshop Run-Down: The Day One Top Ten
by: Ded10cInterview with Jason Kingsley, CEO of Rebellion Developments
by: Ded10c

by: DeusExCeteri
Introduction
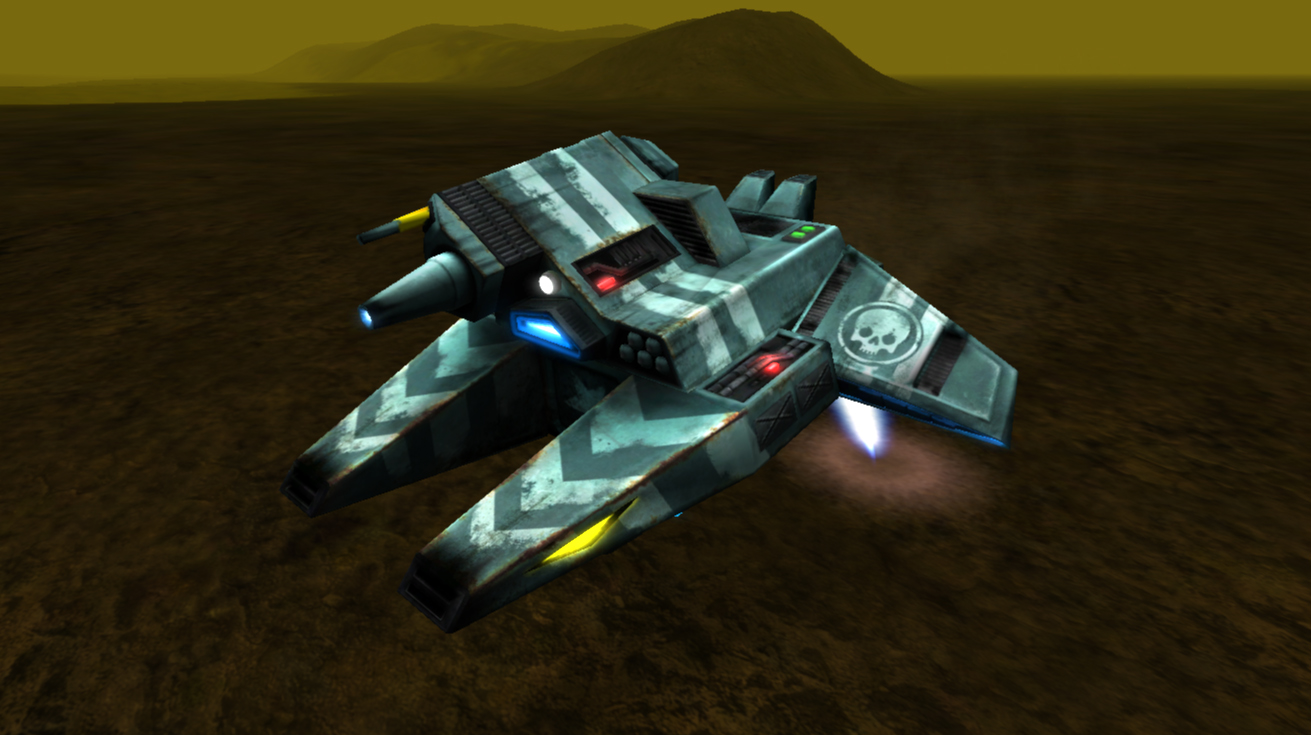
So, recruit, you’re about to face your first skirmish out on the battlefield, and the NSDF “Bobcat” Light Tank is your vehicle of choice? Well before you go thinking you’re about to rain thermal missiles upon every enemy unit that crosses your path there’s a few things you need to know. Stick with me and by the end of your training you’ll be able to take on everything from the nimble scout to the behemoth walker.
Among the earliest vehicles designed by the NSDF, the Bobcat combines mobility and speed on the battlefield with frightening firepower, it’s Thermal Hornet missiles able to turn most units into fireballs in the blink of an eye. Its combination of cannon and rocket hardpoints make it one of the most versatile craft to choose from, enabling it to take on a variety of roles, and with a higher ammo pool than most other vehicles, in the right hands it can have far greater longevity in a fight.
Statistics
Length: 6.85m Width: 6.70m Height: 2.85m Scrap Cost: 6 Build Time: 7.0 seconds EDD Hull: 2000 Nano Ammo: 1500 Radar Range: 300m Mobility: High
Weapon Armament
Standard Bobcat: Cannon: AT-Stabber Rocket: Thermal Hornet Special: Solar Flare Black Dog Bobcat: Cannon: AT-Stabber Rocket: Thermal Hornet Special: Phantom VIR Bobcat EX: Cannon: Minigun Rocket: TAG Gun Special: MITS Mine
Dogfighting
Proper use of the Bobcat in a dogfight requires a varied skillset, being able to effectively predict where your attacker will fire in order to dodge and use all the light tank’s weapons in combat are vital to staying alive and staying on top.
When piloting the Bobcat, you will want to keep your cannon and rocket linked in order to maximize your firepower. Usually, this is done by pressing ctrl+f9 with your cannon active, but some pilots may choose to map the function to a different key, such that the cannon and rocket can be linked with one hand. With your weapons linked, you’ll be able to lay fire on an approaching target with your AT-Stabber as your Hornet locks on, and then need only release for a split second to fire it off. Mastering this technique will take some time, as quick-moving targets will be harder to lock onto if you’re firing with your AT-Stabber. This is where being able to quickly unlink and relink these weapons will come in the useful, as quick moving targets will otherwise be impossible to hit with both weapons.
In the heat of battle, your vehicle’s special weapon may come in very useful depending on your enemy. The stock Bobcat’s Solar Flare is an effective countermeasure against enemy rocket tanks that rely on the Hornet weapon and also creates a hazard for the enemy, whereas the Bobcat EX’s MITS Mine is useful for catching enemy units or cannon fire. The Black Dog Bobcat’s Phantom VIR is the one of the best countermeasure weapons, as it allows an almost perfect cloak that confuses both Thermal and Image missiles and can be used to trick enemy units, although be careful as it does not render you radar invisible so you may still be targeted.
When fighting in the Bobcat, be careful when engaging units with countermeasures of their own. Rocket Tanks have low heat signatures and are difficult to lock onto with the Hornet, as do turrets. Walkers have high heat signatures and can be locked onto easily, but the soviet Golem has Blast Cannons that greatly outrange your missiles and cannot be fought head-on. Enemy units will often drop nav beacons to evade your Hornets, especially when fleeing, so reserve your missiles for when they face you head-on to avoid wasting ammunition shooting down beacons. If in a dogfight you run out of ammo, lock your hornet onto your enemy before attempting to flee. The missile lock will allow you to track them and, if they follow you, you’ll be able to release a missile as soon as you re-arm.
When considering what weapons to upgrade your Bobcat with, the MAG Cannon is an excellent choice as it can be lethal when used in combination with the Hornet, while the SP-Stabber is also quite effective, as it’s range matches the Hornet making it easier to use both at the same time. The comet can also be a devastating stand-in for the Hornet, as the Bobcats ammo pool allows it to use the weapon with the same effectiveness as most bombers.
Commanding
When utilizing Bobcats under your command, there are a few options that will maximize their effectiveness. As they are cheaper and faster to build than standard tanks, you’ll find that supplementing your forces with Light Tanks can be an effective way to establish a large offensive force. As Bobcats have lower hull than most factory units, they can be vulnerable, but they can more than make up for it in the long run if upgraded. While the Bobcats under your command will not use their Hornets, they will use any other missiles you upgrade them with, Sandbags being a particularly cheap way to boost their firepower as they pin down enemy units. Additionally, arming your Bobcats with thumpers will allow them to disrupt enemy forces in engagements, allowing your heavy-hitting units to rip into the opposing force.
by: HyperFighter , DeusExCeteri
In Battlezone, every choice depends on who you’re fighting and what map you’re fighting on, and no one guide can guarantee you the path to victory. With that in mind, we’ll walk through a basic startup strategy for the map “Canyon Madness”, a 4-player strategy map that comes with the stock game.
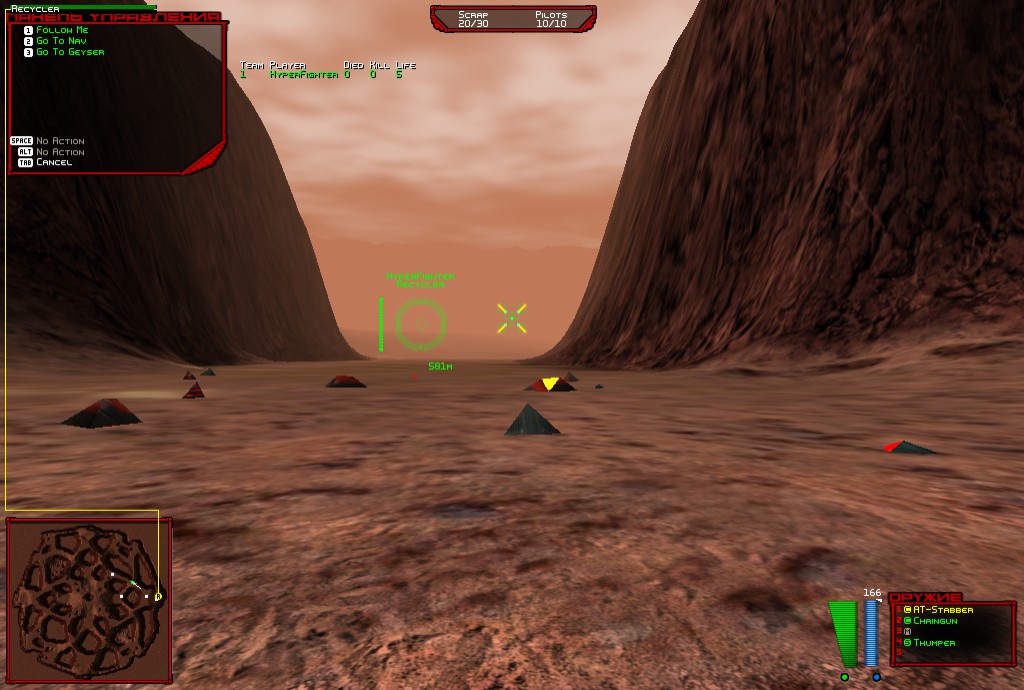
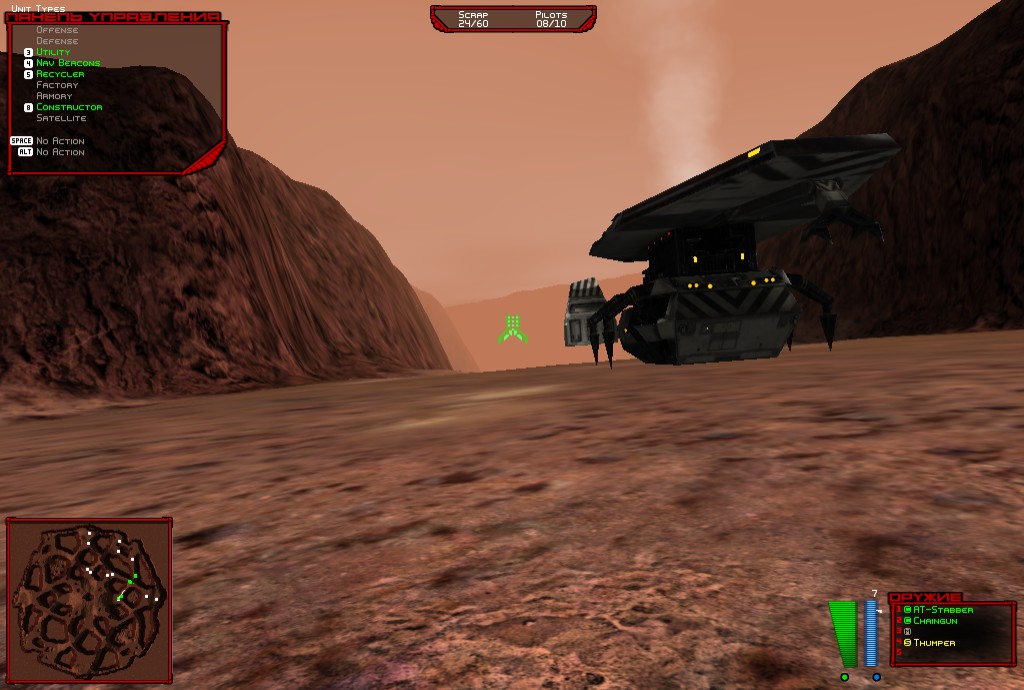
Upon launching the game, this is what you will see:
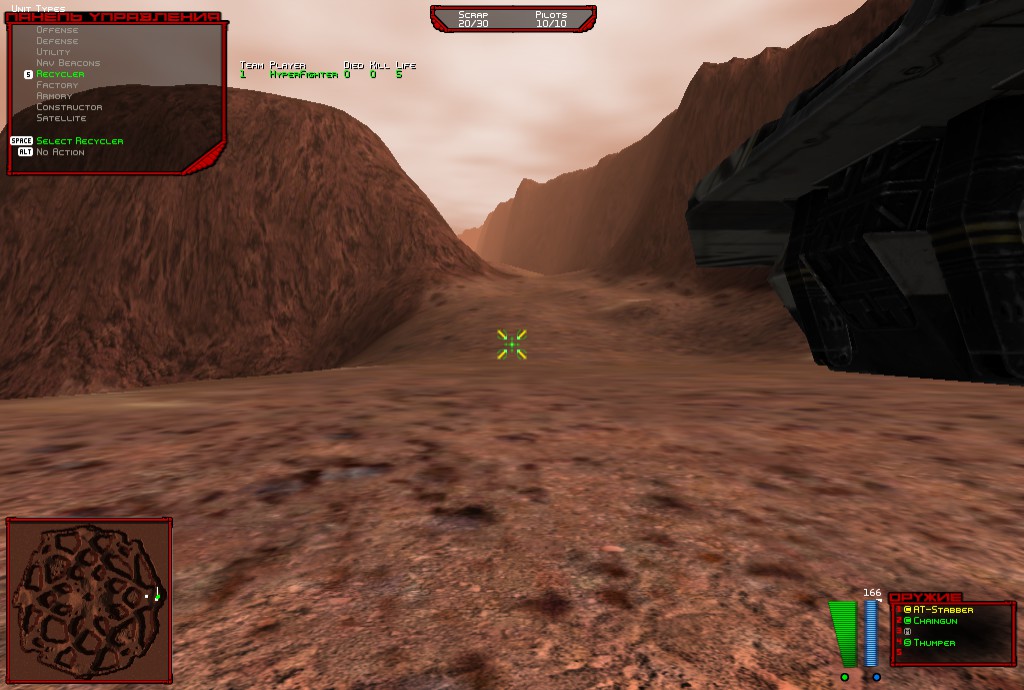
This is your spawning area, as you can see, we have started out on the east corner of the map with two geysers, but no scrap fields. That poses a bit of a problem for us, so we need to start looking around our immediate area for resources. From our spawn we have four entrances, two of them are main openings that lead to the middle of the map, and the other two are narrow passages near the edge of the map. We’ll check what’s at the main passages first.
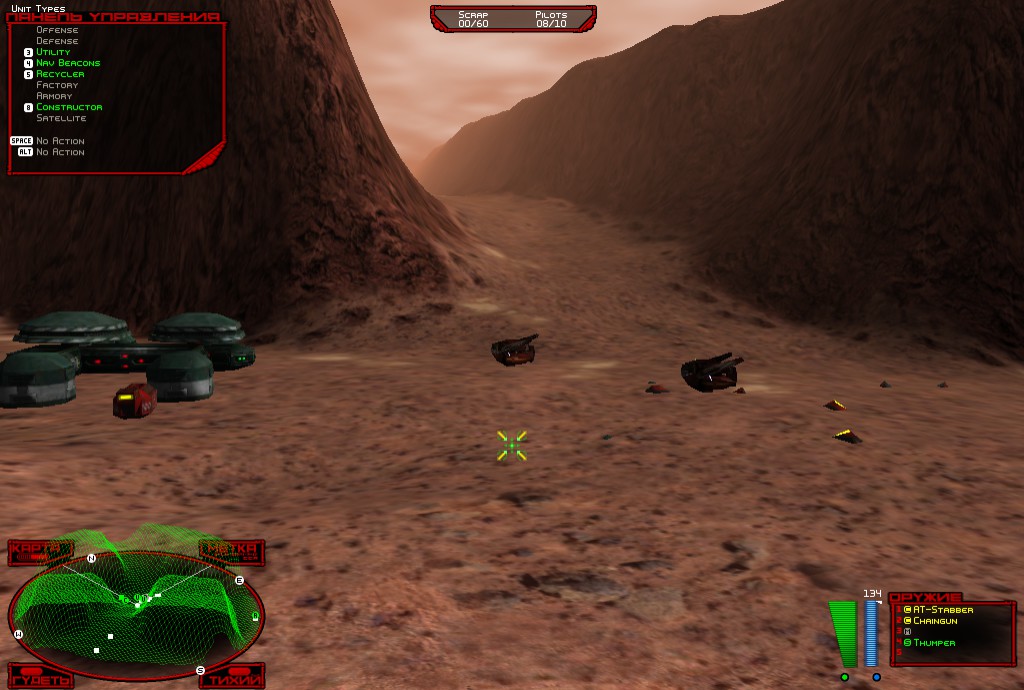
Investigating the entrances to our spawn area, we finally found some scrap, but there’s an issue with it.
The scrap is about half a kilometer from our starting geyser, a rather hefty trip for our Scavengers to make, but we have several options to make the commute faster for our gatherers. We could move to a closer geyser (there are two possible here, one by our spawn and one closer to the center), or get a Constructor to build a silo by the scrap field.
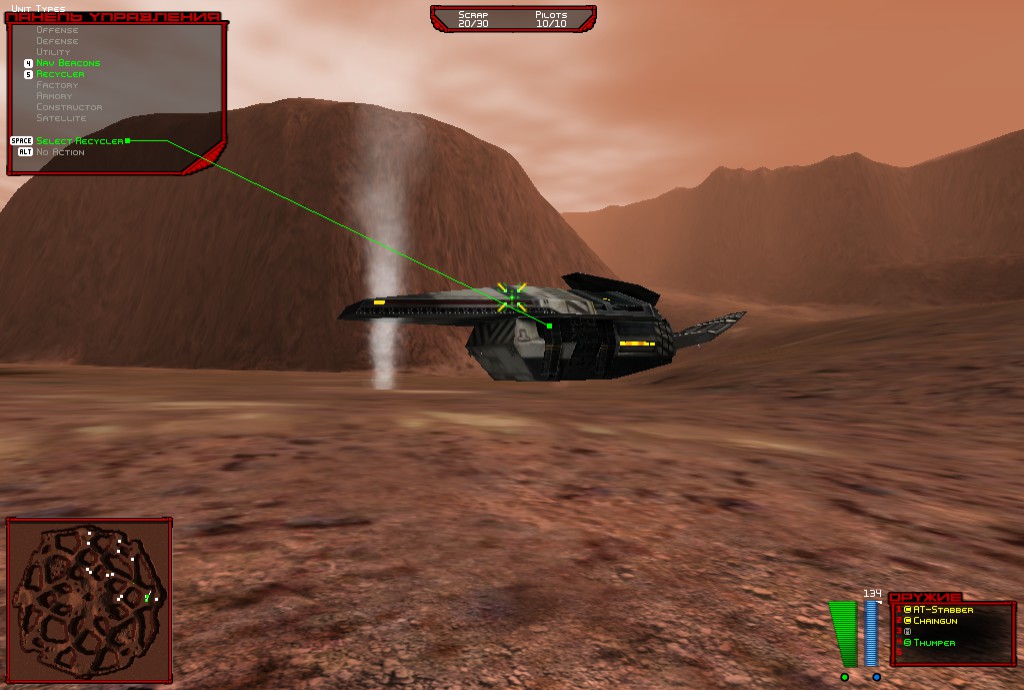
The thing to consider when making your choice is to ask what can get you the most amount of bio-metal as quickly and safely as possible. All of our options here are viable, and it’ll take a bit of judgment and experience to get the decision down right. For the purposes of this tutorial, we’ll stay close to home at first so we can build up fast later. First, build a Recycler.
Once you realize that was a joke, send your Recycler to the lower geyser. If you want it to deploy as quickly as possible, place a nav beacon over the geyser with the “P” key (it will appear from the back end of your tank) and order your Recycler to move to it, it will deploy instantly when it reaches the nav.
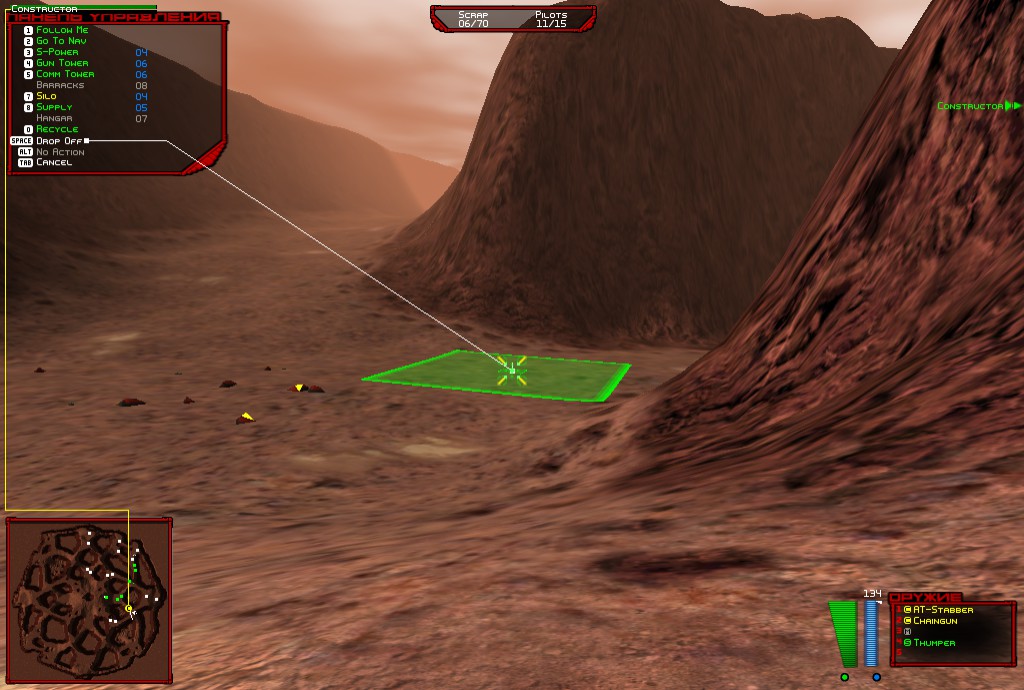
Since the Recycler is still a ways off from the scrap, we’ll want to build a Constructor first before our Scavengers. That way the Constructor can set up a silo while the Scavs are making their trek to the scrap. Once the Constructor is made, we’ll make two Scavengers (saving the 4 scrap that’s left so we can make the silo immediately), and move our Constructor to the scrap field.

Once at the scrap field, we order our Constructor to build a silo near it by selecting the constructor and pressing the “7” key (it will be the “6” key for the NSDF because Americans can never do things the easy way).
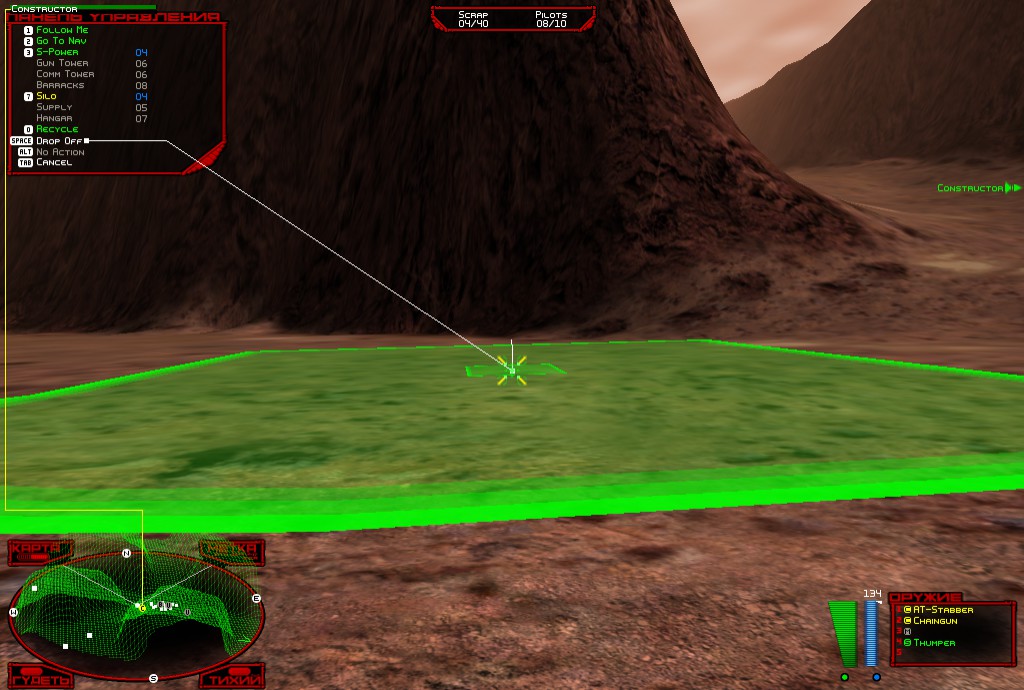
Once you’re cleared to build, let the Constructor do its thing and your scavs should be just starting to gather before the silo’s done.
Now that we have a fast source of income, we need to consider moving our base. Our starting area is nice and all, but we’ll want to get as much scrap as we can get if we want to put up a good fight against enemies. Maps tend to have the most of their scrap in or near their center, as it’s the most likely place players will run into each other. This is the case with Canyon Madness, so we’ll pack up our Recycler and move ourselves inwards. We’ll let our two Scavs gather scrap while we do so, they’re fine as they are.

There are two pairs of geysers we can move to, one is to our Northwest and on low ground, and the other is to our Southwest and on high ground. Generally speaking, height gives you an advantage while defending your base, so we’ll move to the Southwest site. Have your Recycler follow you and keep within 200 meters of him as he will put in more effort to keep up with you. As we’re approaching the center, it’d be a good idea to keep an eye on your radar to check if there are any signs of enemies or scrap nearby. Once we reach our destination, you know what to do.
Welcome to the center, comrade. From here, we’ll be in a good position grow our base and our forces. We’ll want more scavs to gather the scrap around us, but first we need to build a Factory. If you haven’t run into one already, you’ll run into enemies soon, and you’ll need strong defenses to help you out. Once your Factory’s done, send her to the geyser and pump out a couple more Scavs, I usually prefer to have at least five or six roaming around. You’ll notice to the southeast of us there’s another scrap field. You know what to do.
From here on out, you have the resources and are in the prime position to build an army, fight your enemy, and take all the scrap for yourself. What army you use to fight your enemy is up to you, and you may find some army compositions are more effective than others. I do have my preference though...
Enjoy Battlezone Redux!
by: Ded10c
Aside from hunting down bugs in the game the twenty community beta testers were also tasked with loading the workshop up with day-one content, and they rose to the task. With nearly 100 items on the workshop we figure you could do with some help in sifting through them all, so we've picked out some highlights for you.
In this section we're going to take a brief look at some of the day-one items in the workshop - what they do, why you should get them, and what else you can expect in the near future.
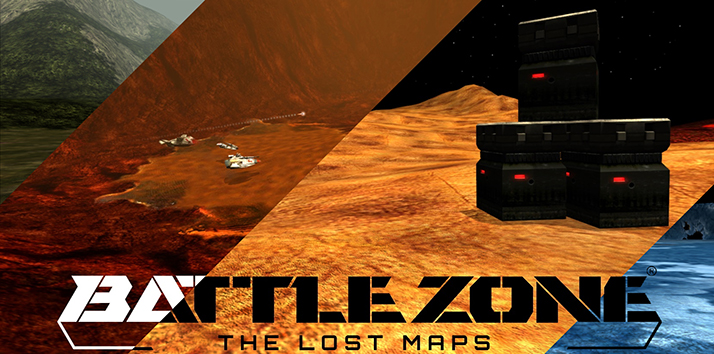
10 - Battlezone: The Lost Maps
We're kicking off our list with the oldest of the old - older than Battlezone itself, in fact! Battlezone: The Lost Maps is a collection of maps and missions that were removed from the original Battlezone (some even before it's first release), recovered from places like the 0.8 beta and the earliest builds of the game. Maps like "Divots" and "Capture the Flag" that only a lucky few of you will have played before are back - and there are more in the works.
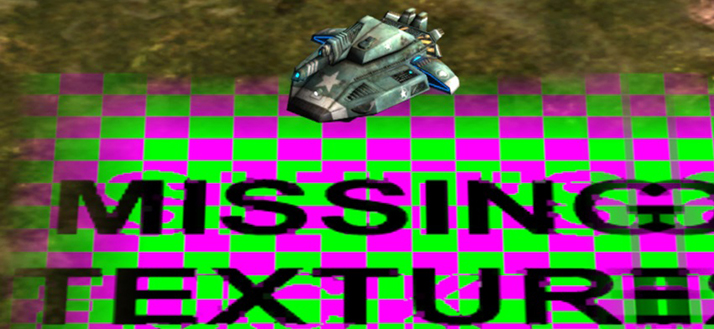
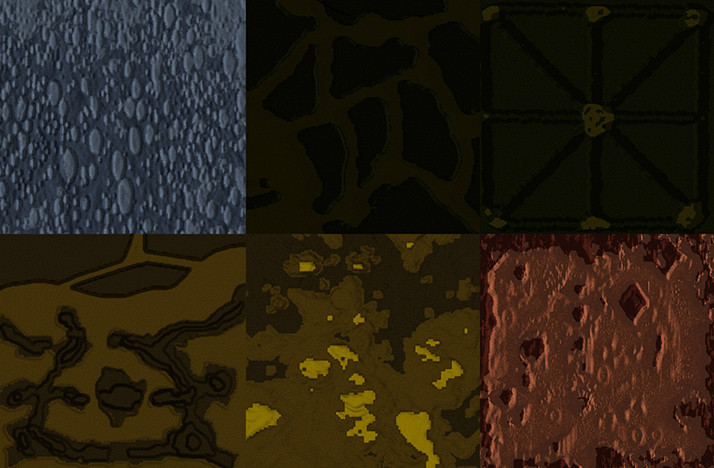
9 - Checkerboard Atlases
Those of you who are veteran mapmakers from the original game may have noticed that the new release is lacking one particularly useful feature: checkerboards! During the first pass of texturing with MakeTRN it's not unusual for the program to encounter terrain squares that it doesn't know what to do with, so it places a default texture there in the assumption that you'll be touching things up later. Realising that some mapmakers never actually bothered with the touchup, Battlezone 98 Redux switches the default from the red-and-black checkerboard that it used to be to the world's first solid texture that stands out a bit less - great for the player, not so good for the mapmaker. This handy little utility mod replaces those default textures with a new texture that's even more garish than the original; a violent-magenta-and-lime-green checkerboard with a helpful "Missing Texture" notice so you know exactly what's going on.

8 - Instant Action Demo
The Workshop's top two subscribed items - at 85 and 70 each - are Activision's two official Instant Action maps. These were built to demonstrate the creation of Instant Action levels for other users and so were never intended to present much of a challenge, but here they are. User Mission 1 (the more challenging of the two) will pit you against an entrenched Soviet force on Achilles, while the slightly User Mission 2 have you stand their ground for ten minutes against CCA assault.
For more Instant Action, check out Sporkinator's "Capt. Chaos Strikes Again", which comes in both NSDF and CCA versions.
7 - Soundtrack Mods
There are three of these currently on the workshop: the Early Demo Soundtrack, the Red Odyssey Soundtrack, and the Rise of the Black Dogs: Re-Orchestrated Soundtrack. They're pretty simple mods - they just swap out the music - so let's dive right in.
The first of those isn't very big - it consists of only three tracks, composed by art director Carey Chico to give composer Jeehun Hwang and idea of what the final product should be. They're different, but they're definitely Battlezone.
Most veteran players will be familiar with The Red Odyssey's soundtrack, with its epic swelling brass and 80s-sounding synths. It's a classic and, thanks to Sporkinator, you can now have it in Battlezone 98 Redux too.
The gem in this particular item is the Rise of the Black Dogs: Re-Orchestrated Soundtrack. It was first released in Summer 2015 as part of the Heracles Brigade's Rise of the Black Dogs Decompilation Project, an effort to port all of the exclusive content from the Nintendo 64 version of Battlezone to the PC. The first thing they finished was the soundtrack, ripping it out of the cartridge and fixing it up to match more appropriately with that of the PC game. Those of you who played Battlezone: Rise of the Black Dogs should find this mod to be an interesting nostalgic twist, while the rest of you can be assured of a third kick-ass alternative soundtrack to play to.
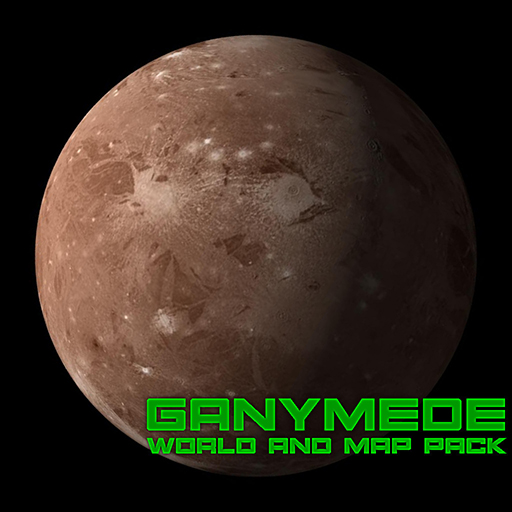
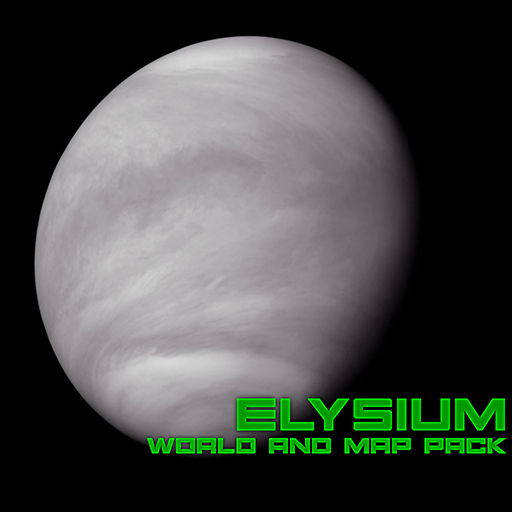
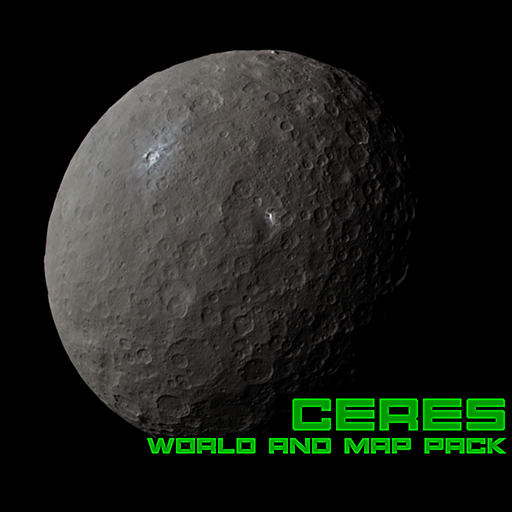
6 - World Packs
There are three items in this category; Ganymede, Elysium, and Ceres. Players of Battlezone: The Red Odyssey will remember the former two as the new worlds on which all but one of the expansion's new maps were set; dusty, bleak-looking places that had that strange charm to them that only Team Evolve's texturing could really create. In particular, Elysium's intriguing purple atmosphere is beautiful thing to behold in Battlezone 98 Redux.
Each of these packs come with three strategy maps ported from Battlezone 1.5: Ganymede comes with ScrapPool's "Hills of War", Goomba's "Cracked Nerves" and DL's "Made in China"; while Elysium comes packaged with Mr. Spock's "Biometal Run", "Grand Theft" and "HiLo", the latter converted from Battlezone 2.
The third pack is Ceres, a brand new asteroid-based tileset created by DeusExCeteri. It somehow manages to be both similar to and distinct from the moon and Elysium, its combination of blue-tinted bedrock and brownish gravel producing a surprising level of contrast for what you'd think would be quite a bland world. It comes with three of her own maps; the tight and frantic "The Conduit", the 6-player "Clockwork Battlefield" (one of only two on the workshop!) and the deathmatch map "Pure Chaos" (which features a Chinese CP-Stabber powerup from The Red Odyssey!).
5 - Deus Ex Maps
From Deux Ex's world packs to Deus Ex's maps. DeusExCeteri is still a relatively new face in the Battlezone community, but her meteoric rise as mapper and modder shows no sign of stopping. Aside from the aforementioned world packs she's got three fresh and innovative standalone maps on the workshop, and we're going to run down them one-by-one.
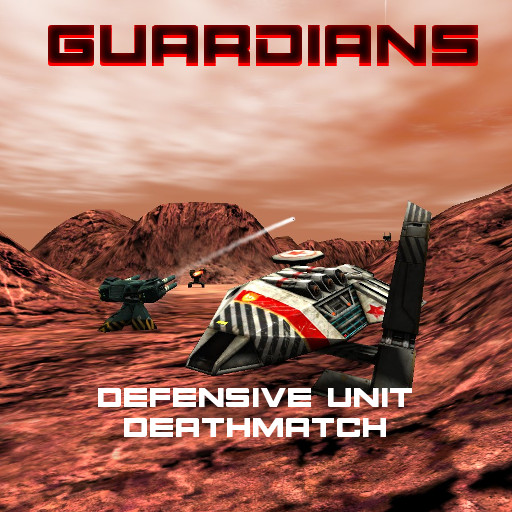
First up is "Guardians", Battlezone's first defense-only deathmatch map. How does that work, you ask? We've got no idea - it just does! Grab yourself a turret, howitzer or minelayer from any of three factions (NSDF, CCA and Black Dogs), keep an eye out for an upgrade and hunt down your opponents!
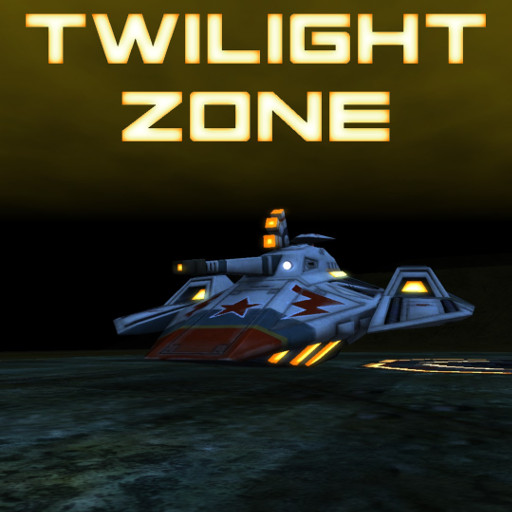
"Twilight Zone" is the first map on the workshop to take advantage of the newly adjustable lighting system. As night draws in on Venus, you're going to need to rely on the lights of your tank - and those of the enemy - to see what you're doing. Keep an eye out for the coloured terrain squares used to indicate spawn points, weapon crates, and ammo and repair drops. This map really is a thing of beauty.
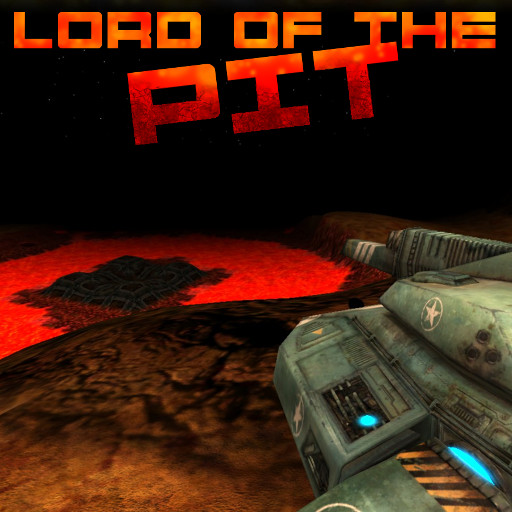
"Lord of the Pit" is something of a rarity; a custom-build King of the Hill map, one of only two on the workshop (see item 3 for the other). The "hill" isn't so much a hill as an island in the middle of a lake of lava, so try not to fall off! As a bonus, this one includes the "Dominik" Red Wolf Czar, Battlezone 98 Redux's first reskinned unit (see item 2)!
4 - MPI Maps
The lua-supported Multi-Player Instant gamemode is one of the most significant new features of Battlezone 1.5 and Battlezone 98 Redux, and there have already been multiple questions on the Steam Community boards asking for maps. Well, here they are - eight MPI maps created by community legend HyperFighter. These will pit you and up to two friends (one friend in the case of "The Venusian Strike") in co-operative play against the AI. Or you can fight each other and the AI, if you really want to. At an average of 42 subscribers each, these are some of the hottest maps on the workshop - finding a partner shouldn't cause you any trouble.
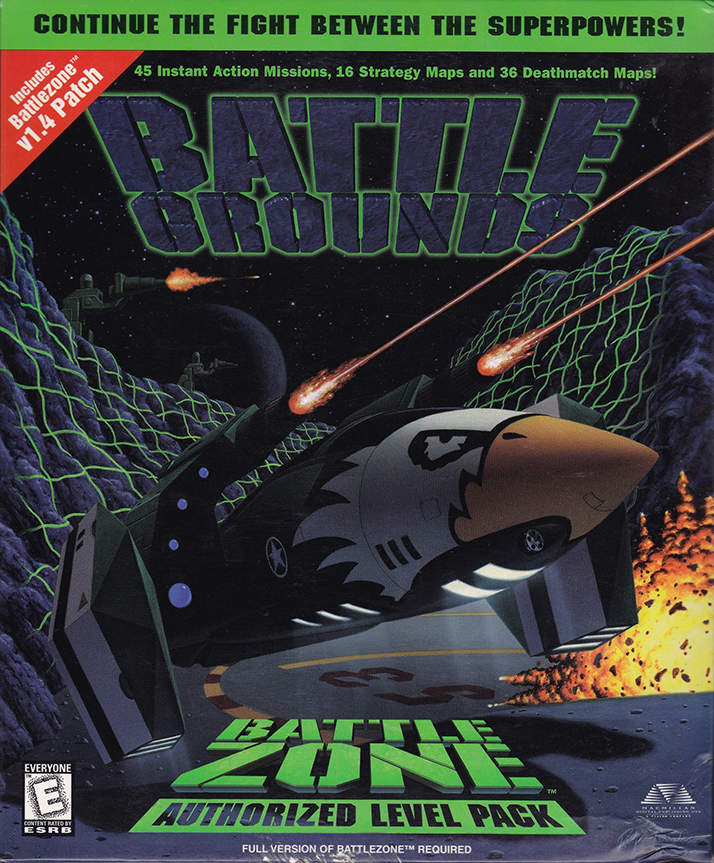
3 - Battlezone: Battle Grounds
If anything is to blame for the sheer amount of content on the workshop, it's this. Weighing in at over 50 items, the authorized map pack "Battlezone: Battle Grounds" is simply massive - and there's about the same again yet to come! We simply don't have the space to cover every item included, but with 16 strategy maps and 36 deathmatch maps to choose from you can rest assured that there's plenty to be getting on with. The developer assures us that there's plenty more to come - 53 Instant Action maps more, to be precise, along with incremental updates to bring the maps from their 1998 forms to 2016's Battlezone mapping standards.
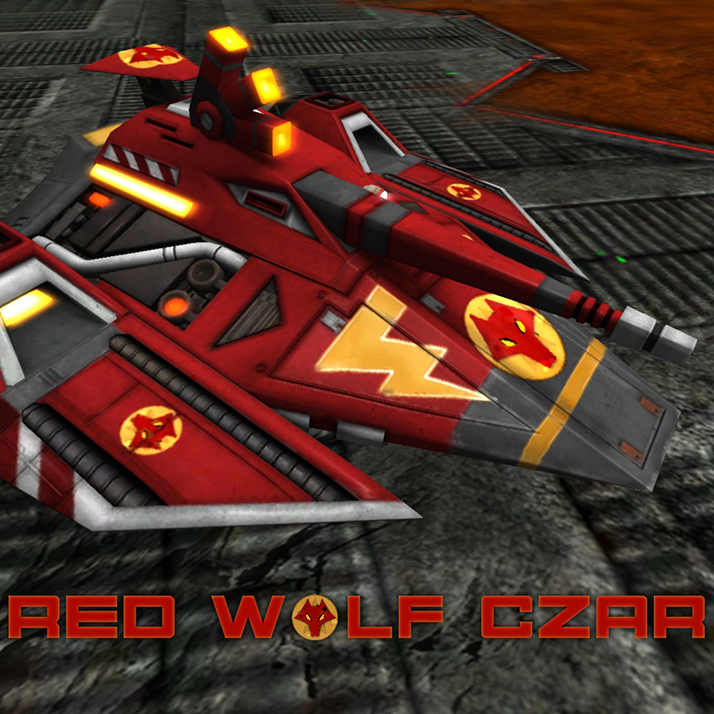
2 - Red Wolf Czar
The most popular item on the workshop this week is also one of the most unique; the Red Wolf "Dominik" Czar. Those of you who have been part of the Battlezone community for some time might remember the Red Wolves - or Krasnyy Volk Spetsnaz, as the CCA knew them - as the CCA special forces squadron featured in ssuser's "Red Wolf Mission Pack". There have been several versions of the Red Wolf skin pack over the years, each artist collaborating with the last, and this is the first part of the latest. This beautiful skin doesn't just overwrite the Czar either - you can find it lurking in "Total Destruction" during the NSDF campaign, you will be rewarded with the chance to drive it yourself between the fourth and eighth missions of the CCA campaign, and can supplement your army with them (along with the CCA Fury) in "Punishing the Black Dogs". Considering this was only created as a test to establish a workflow for modders, this has really taken off.
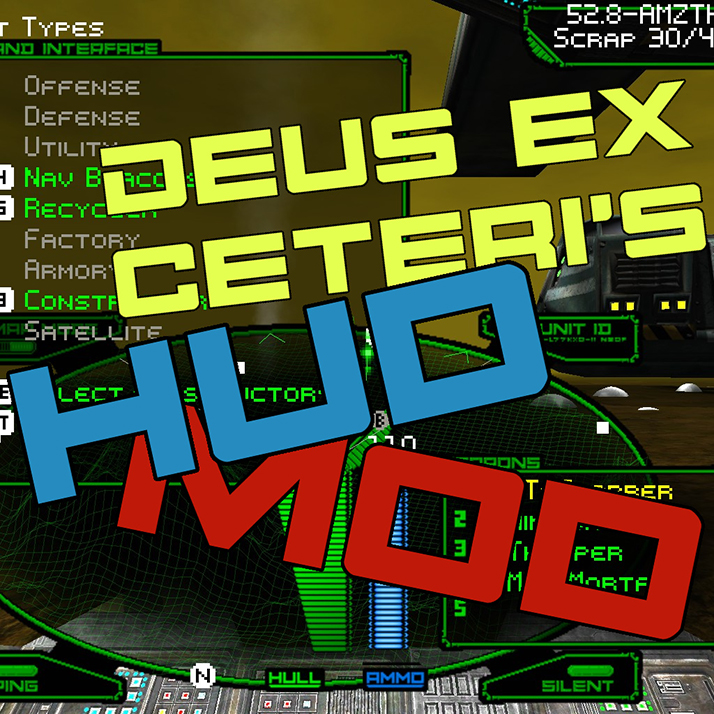
1 - Deus Ex's HUD Mod
Our top item in this issue goes out to everyone who's a little disgruntled about the vibrancy and brightness of the new HUD - we know you're out there! DeusExCeteri's HUD Mod was on the front page of the workshop for weeks before release and is still there now, and we know why; its simple elegance calls to mind the HUD style of Battlezone without shying away from updating the visuals, blending the dark simplicity of the old with the high-res quality of the new. All three colours of HUD are included - American green, Soviet red and Fury blue (complete with Greek text!). We have it on good authority that there are more HUD mods on the way, too.