by: HyperFighter , DeusExCeteri
In Battlezone, every choice depends on who you’re fighting and what map you’re fighting on, and no one guide can guarantee you the path to victory. With that in mind, we’ll walk through a basic startup strategy for the map “Canyon Madness”, a 4-player strategy map that comes with the stock game.
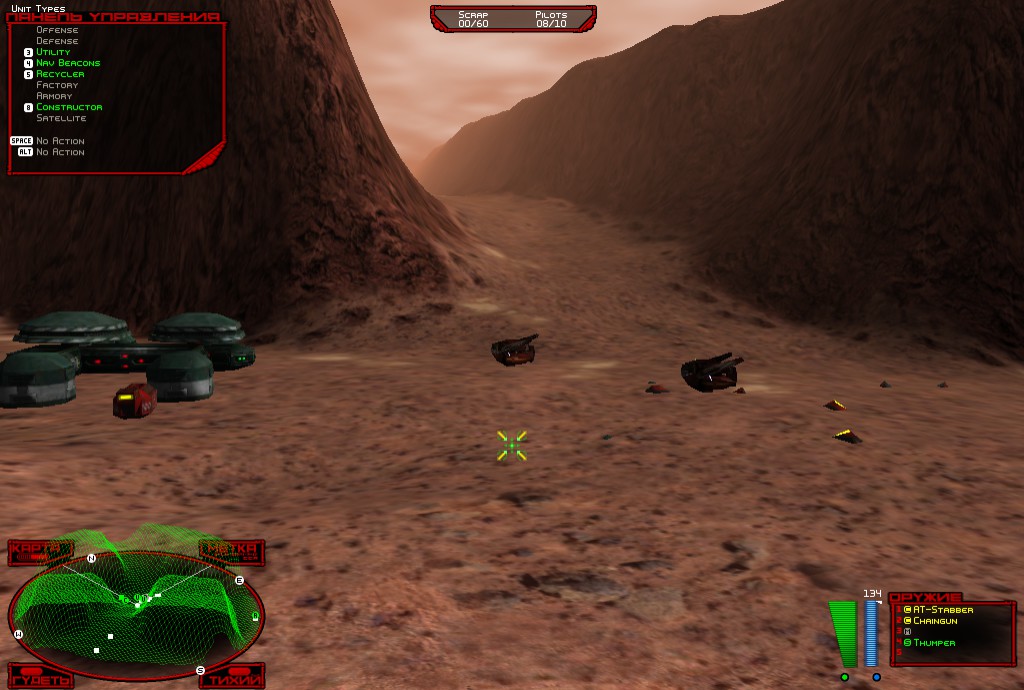
Upon launching the game, this is what you will see:
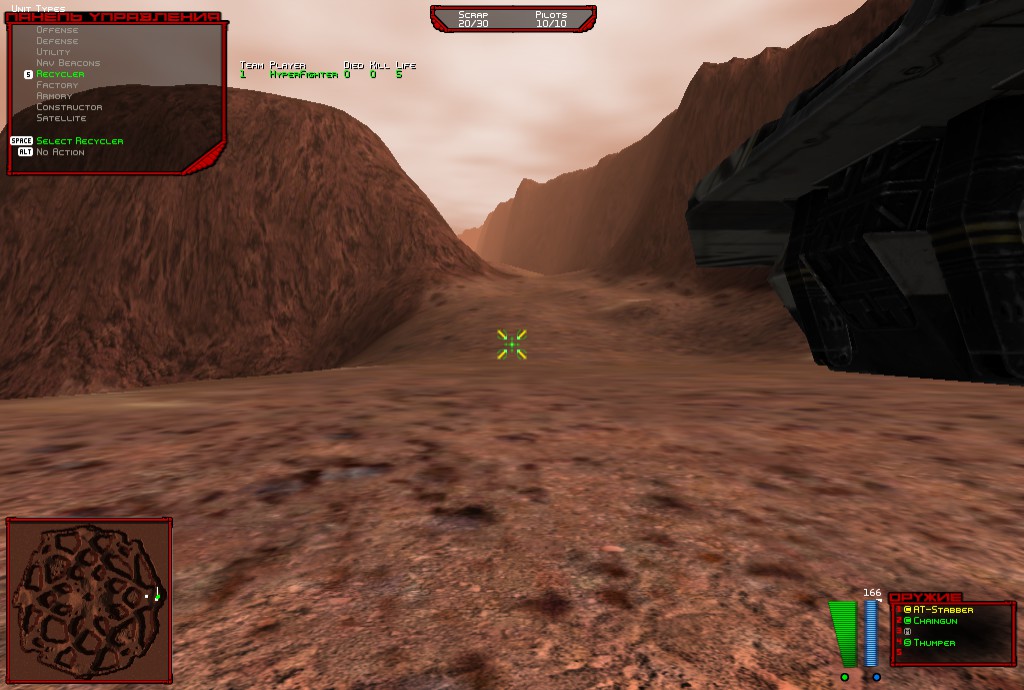
This is your spawning area, as you can see, we have started out on the east corner of the map with two geysers, but no scrap fields. That poses a bit of a problem for us, so we need to start looking around our immediate area for resources. From our spawn we have four entrances, two of them are main openings that lead to the middle of the map, and the other two are narrow passages near the edge of the map. We’ll check what’s at the main passages first.
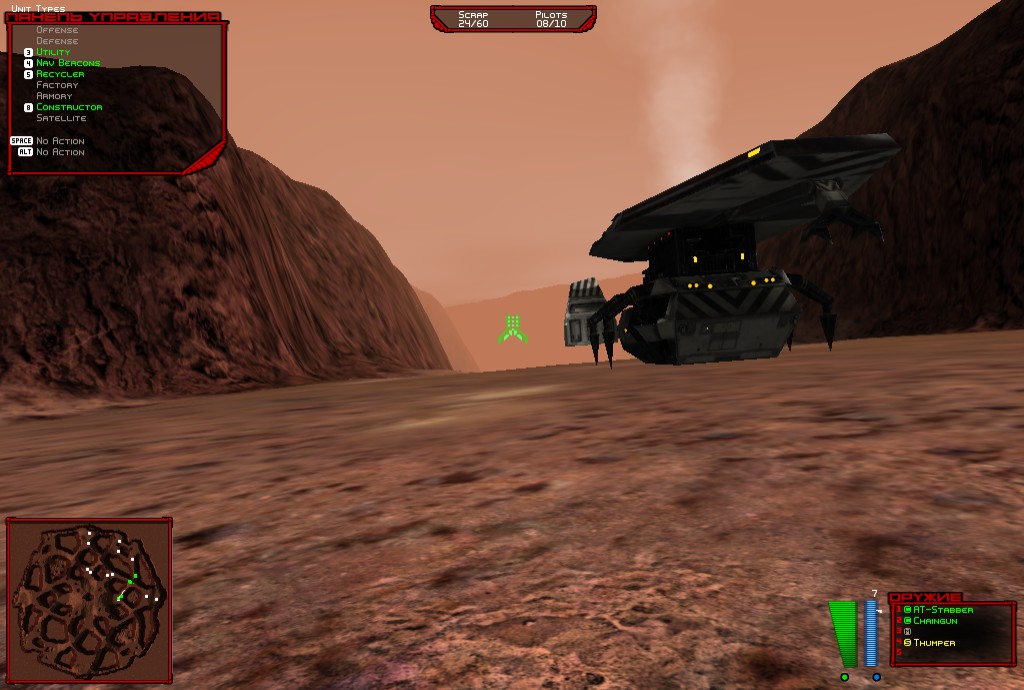
Investigating the entrances to our spawn area, we finally found some scrap, but there’s an issue with it.
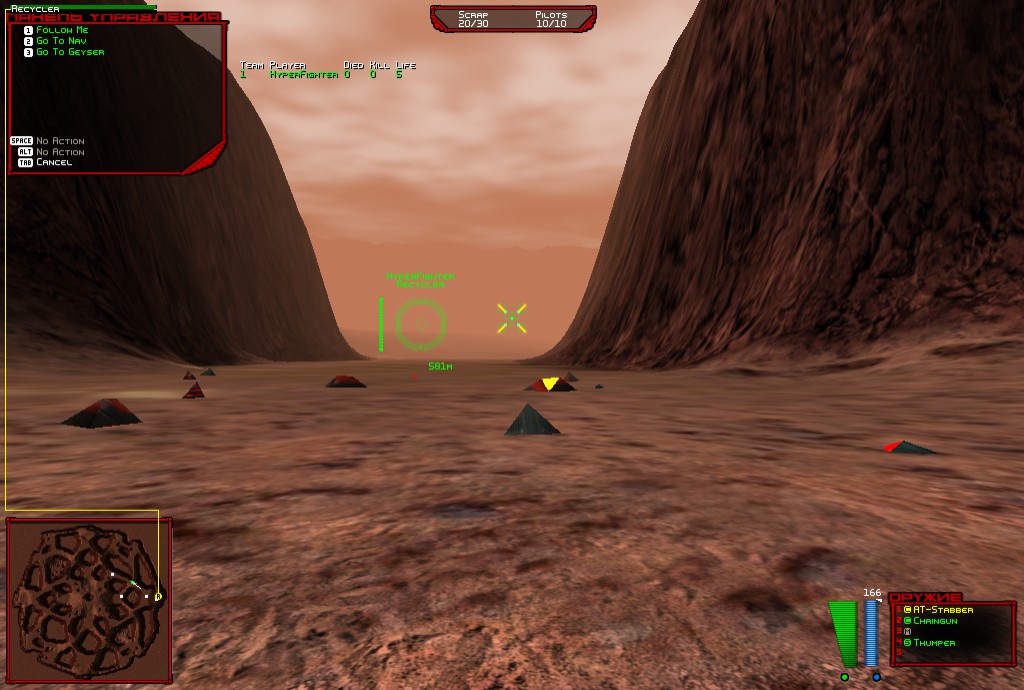
The scrap is about half a kilometer from our starting geyser, a rather hefty trip for our Scavengers to make, but we have several options to make the commute faster for our gatherers. We could move to a closer geyser (there are two possible here, one by our spawn and one closer to the center), or get a Constructor to build a silo by the scrap field.
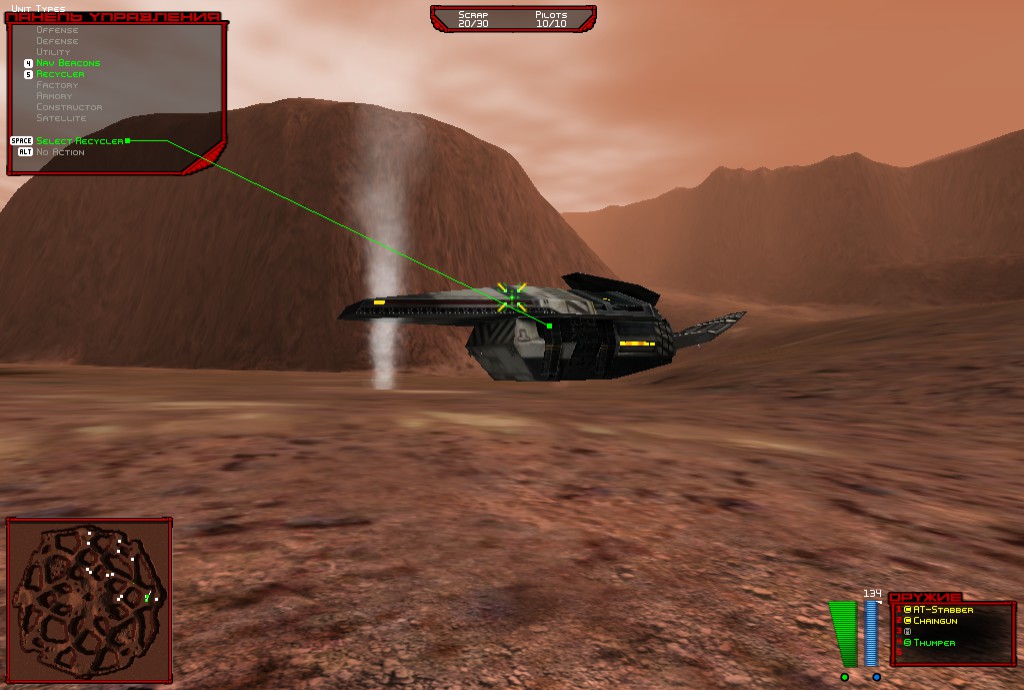
The thing to consider when making your choice is to ask what can get you the most amount of bio-metal as quickly and safely as possible. All of our options here are viable, and it’ll take a bit of judgment and experience to get the decision down right. For the purposes of this tutorial, we’ll stay close to home at first so we can build up fast later. First, build a Recycler.
Once you realize that was a joke, send your Recycler to the lower geyser. If you want it to deploy as quickly as possible, place a nav beacon over the geyser with the “P” key (it will appear from the back end of your tank) and order your Recycler to move to it, it will deploy instantly when it reaches the nav.
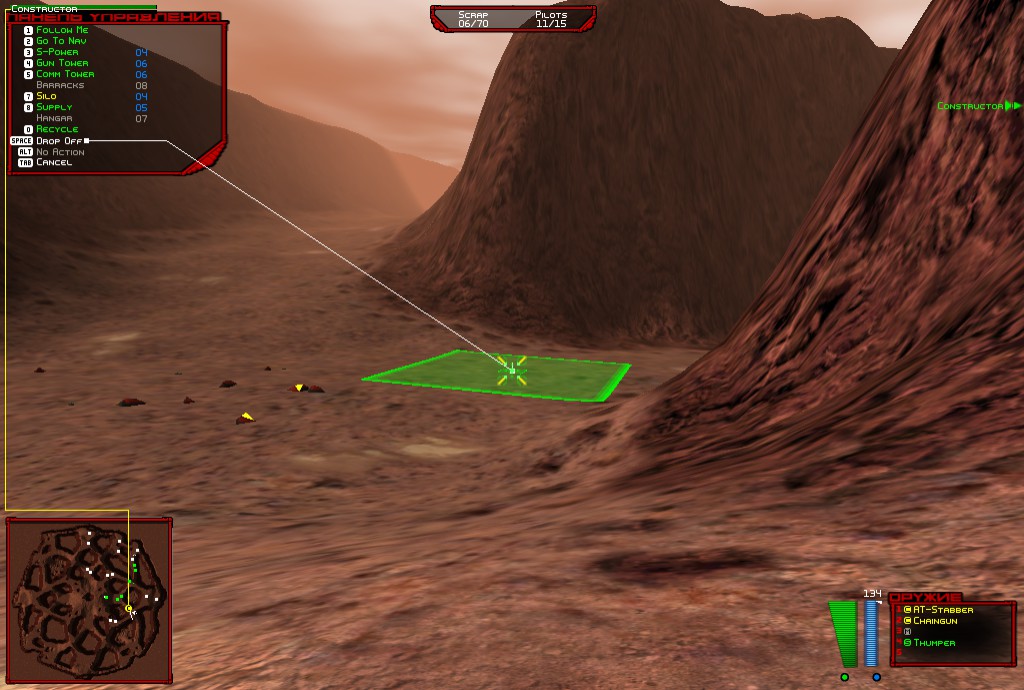
Since the Recycler is still a ways off from the scrap, we’ll want to build a Constructor first before our Scavengers. That way the Constructor can set up a silo while the Scavs are making their trek to the scrap. Once the Constructor is made, we’ll make two Scavengers (saving the 4 scrap that’s left so we can make the silo immediately), and move our Constructor to the scrap field.

Once at the scrap field, we order our Constructor to build a silo near it by selecting the constructor and pressing the “7” key (it will be the “6” key for the NSDF because Americans can never do things the easy way).
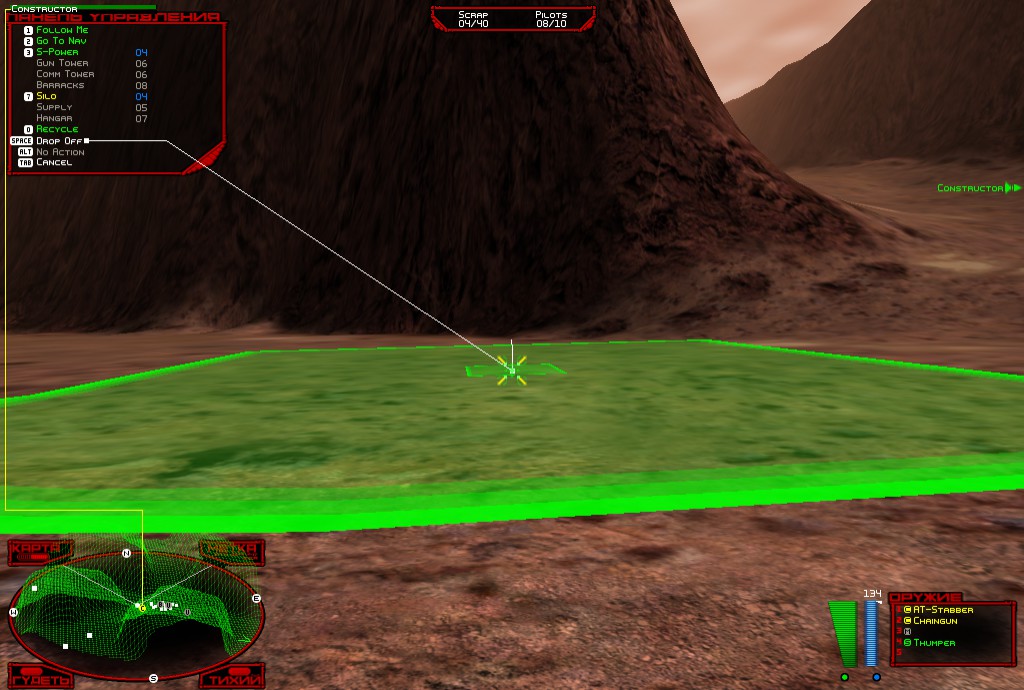
Once you’re cleared to build, let the Constructor do its thing and your scavs should be just starting to gather before the silo’s done.
Now that we have a fast source of income, we need to consider moving our base. Our starting area is nice and all, but we’ll want to get as much scrap as we can get if we want to put up a good fight against enemies. Maps tend to have the most of their scrap in or near their center, as it’s the most likely place players will run into each other. This is the case with Canyon Madness, so we’ll pack up our Recycler and move ourselves inwards. We’ll let our two Scavs gather scrap while we do so, they’re fine as they are.

There are two pairs of geysers we can move to, one is to our Northwest and on low ground, and the other is to our Southwest and on high ground. Generally speaking, height gives you an advantage while defending your base, so we’ll move to the Southwest site. Have your Recycler follow you and keep within 200 meters of him as he will put in more effort to keep up with you. As we’re approaching the center, it’d be a good idea to keep an eye on your radar to check if there are any signs of enemies or scrap nearby. Once we reach our destination, you know what to do.
Welcome to the center, comrade. From here, we’ll be in a good position grow our base and our forces. We’ll want more scavs to gather the scrap around us, but first we need to build a Factory. If you haven’t run into one already, you’ll run into enemies soon, and you’ll need strong defenses to help you out. Once your Factory’s done, send her to the geyser and pump out a couple more Scavs, I usually prefer to have at least five or six roaming around. You’ll notice to the southeast of us there’s another scrap field. You know what to do.
From here on out, you have the resources and are in the prime position to build an army, fight your enemy, and take all the scrap for yourself. What army you use to fight your enemy is up to you, and you may find some army compositions are more effective than others. I do have my preference though...
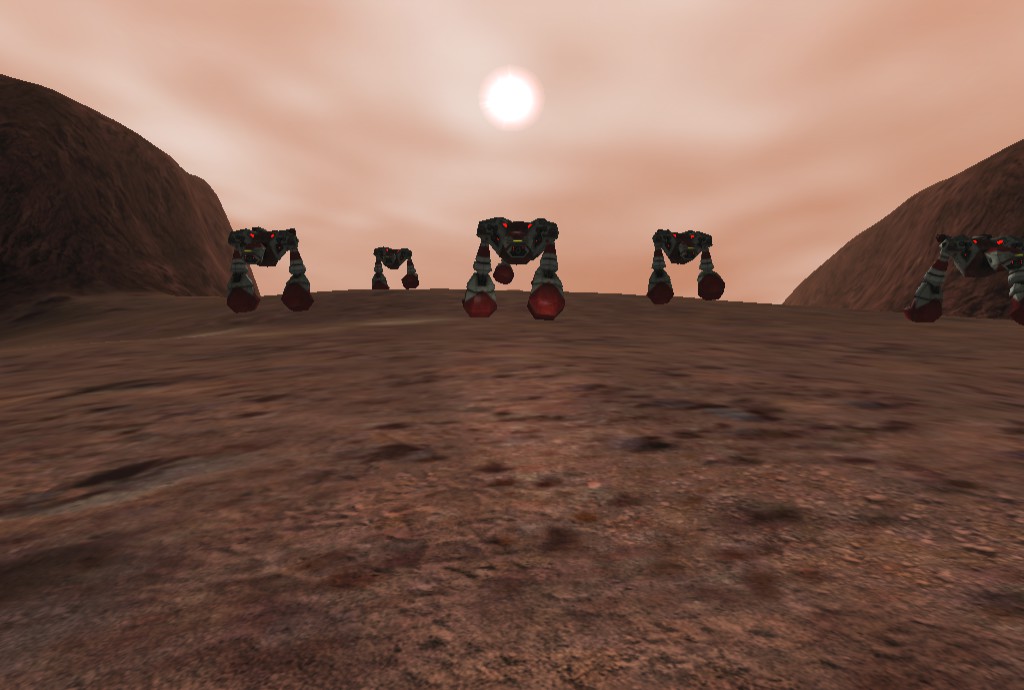
Enjoy Battlezone Redux!